
Your Guide to the GitHub Student Developer Pack
Introduction to the Pack
The GitHub Student Developer Pack is perhaps the most useful, accessible, and beneficial education pack for students out there. It’s hosted and monitored by GitHub, has offers from dozens of renowned tech companies, and best of all — it’s free!
If you are a student, whether in high school, college, or a boot camp, then the Pack is for you. It provides over 100 resources, tools, and applications to programmers completely free of charge. These offers come from notable companies such as Amazon, Unity, Microsoft, and more, and is worth over $200 000 in total. With it, you can accelerate your growth, position, or programs by having access to free custom domains, educational courses, pro-tier analysis or coding tools, and so much more.
In this post, I’ll guide you through the process of applying for the GitHub Student Developer Pack, starting from square 1. If you follow all the steps, you too will have access to the incredible resources that GitHub and its partners have to offer.
How to Apply
Although it takes some time to go through the application process and get your account setup, the rewards are more than worth it. Here’s how to set yourself up for the Pack. The application may seem unusually difficult and long, but that is just done to prevent non-students and people looking to take advantage of GitHub from accessing the tools that they don’t deserve as they aren’t studying and (usually) poorer.
Create a GitHub account
If you do not yet have a GitHub account, you must make one in order to apply. If you already do, feel free to skip this section and head down to the next.
-
Go to the GitHub website.
-
Go to the top left and click the
Sign Upbutton.

-
You should see an option to create an account on the homepage. Fill out your details by adding an unique username, your email address, and a strong password. You will also be asked to solve a puzzle, which you must do to prove you are not a robot. Click the
Create Accountbutton when you have done all the above. -
Once you have done so, you will be redirected to a welcome to GitHub page. Fill out information about your programming experience, work, etc. if you would like to, and then scroll to the bottom and click:
Complete Setup. -
Lastly, you will be asked to verify your email address. Go to the email that you used to sign up for GitHub and accept the email they sent to verify your account. If you can’t find it anywhere, check your Spam folder or resend the verification email.
You’re all set now! All you have to do is apply for the Pack and you should be good to go!
Fill out Your Details
You’re halfway done if you have reached this point! All that’s left is to apply for the Pack, and here’s how to do it:
- Go to the GSDP page here.
- You will see a form, which needs to be filled out for a successful application. The form fields are intuitive, but I’ll go through them below so you can get an idea of what needs to be written and what to put if you’re having any trouble.
- What best describes your academic status?
You are a student, so student is the applicable radio button here. - What e-mail address do you use for school?
You should already have your primary email show up, however, if you have a school email address you should add that as it will increase your chance of success. - What is the name of your school?
Type in your full school name. You may see it there, in which case all you have to do is select it. If not (which happened to me and is caused by having a smaller school) simply type out the full name anyway, but note that you may be asked to provide more information. - Academic proof
You need to prove that you are a student. You can do so in one of the following ways (note that documents must be dated):- report card
- school id
- current school transcript
- letter from school
- How do you plan to use GitHub?
Write a few paragraphs about why you want the Developer Pack and what you plan on using GitHub for. - If your school was not on the list, you may now be asked to add more info. This info is self-explanatory and asks for your school website, location, size, etc.
- Click
Submit your informationand wish yourself the best of luck!
View Offers and Wait
Once you have filled out the form and submitted your request, all you have to do now is wait. The GitHub team is pretty busy, so they may take a few days to respond to your request - it may take up to one week for them to accept or deny your application. However, I’ve found from my applications that it usually only takes a few days.
You can view the status of your application at any time by going back to the signup site. To the right, you should see a table displaying the status of all of your applications, and you will also receive an email to your primary email account detailing whether or not your application has been accepted.
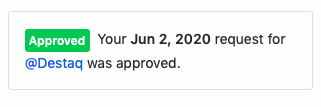
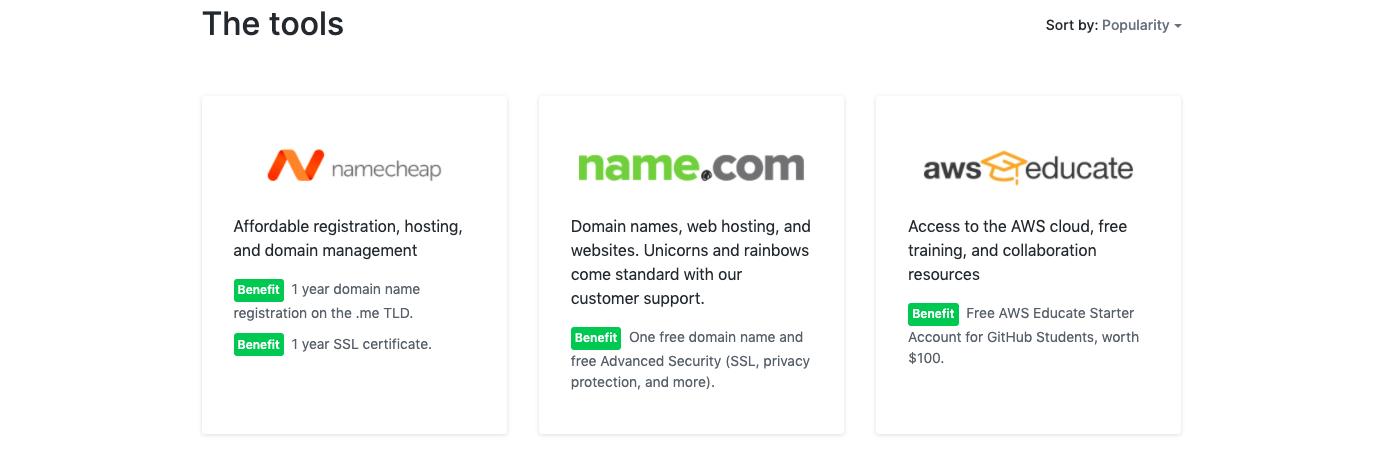
If it’s been accepted, great! You can go to the offers page and browse through the hundred-plus offers they have, signing up for them as you wish.
If not, the GitHub team will most likely send you an email or information detailing why the application was rejected. This is usually due to a bad evidence image, insufficient detail, or missing information. All you have to do is write another application and make sure to include what you missed.
Conclusion
Hopefully, you now have a greater understanding of the GitHub Student Developer Pack, along with dozens more tools and resources at your disposal which you can use to propel your programming journey. Those tools will be a subject of another blog post, but with the sheer amount of offers available to you, you’ll be sure to find something beneficial in the meantime.
Please share any comments, questions, or concerns below, and happy coding until next time!
Leave a comment